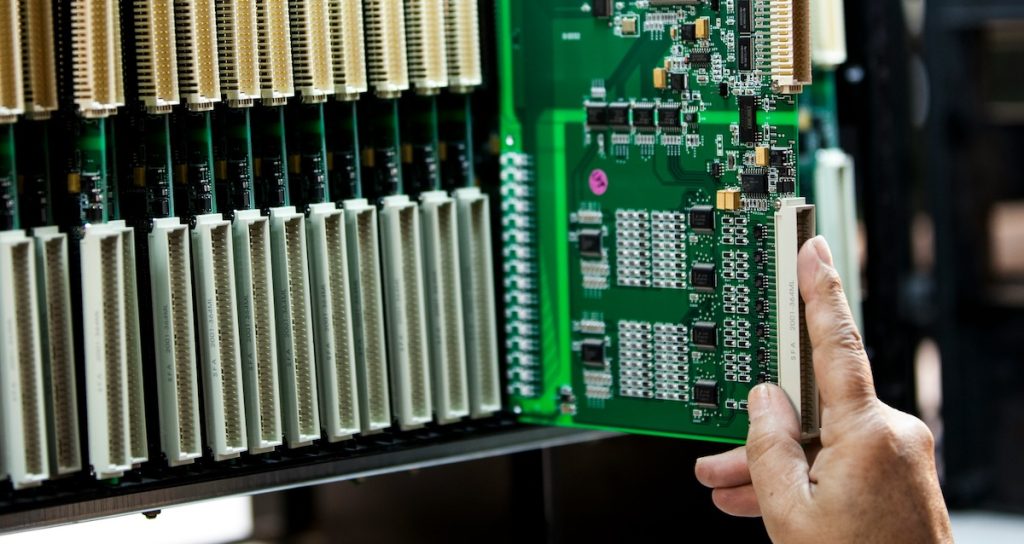

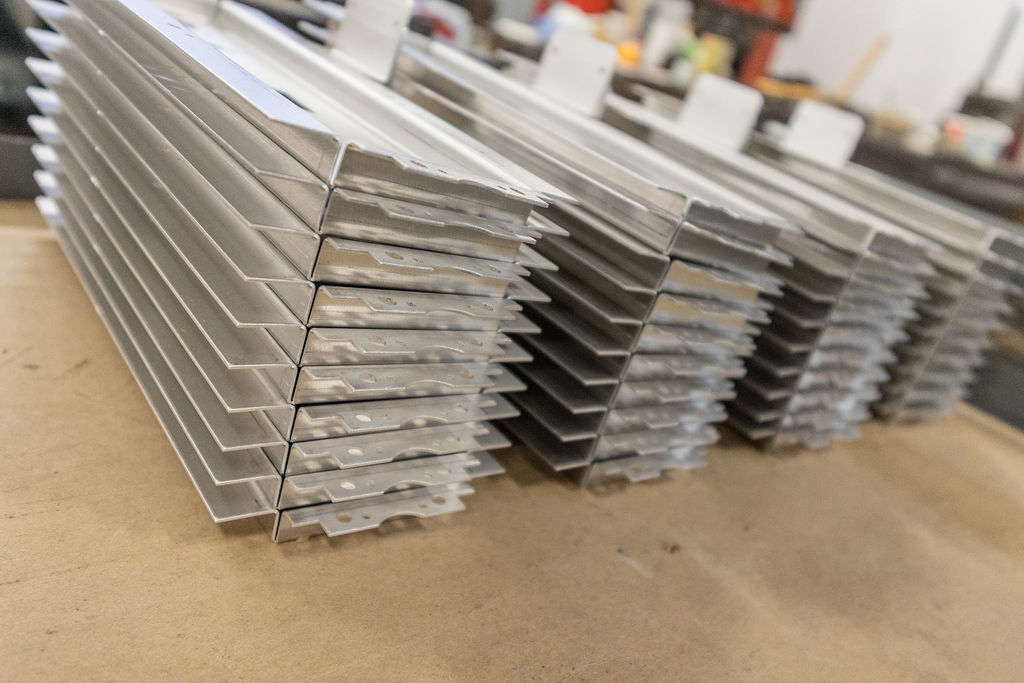
A welding fixture can hold an assembly in the right position and still make it difficult to weld, unload, or inspect. Good welding fixture design considers the entire build cycle: loading the components, locating them, applying restraint, reaching the joints, allowing the assembly to cool, and checking the finished geometry.
For an OEM or engineering team, the fixture discussion should begin with the drawing and the intended production route. A fixture does not replace a sound joint design or a qualified process. It helps the team repeat an agreed method while controlling the features that matter to the product.
Start With the Finished Assembly Requirements
Define what must be true after welding and after the assembly is released from the fixture. A part held against a stop during welding may move when the clamp is removed.
Locate From Functional Features
Identify the surfaces, holes, and interfaces that establish how the product fits its mating parts. Use those requirements to discuss the locating scheme, rather than choosing the most convenient unfinished edge without considering its variation.
ASME Y14.5 provides the language for dimensioning and tolerancing. Where a drawing uses datum references, the fixture and inspection plan should be reviewed against the same design intent. The drawing should also identify whether a dimension applies to an individual component or the completed weldment.
For programs involving welding, share the assembly drawing, component revisions, material, quantities, and critical dimensions before committing to fixture hardware. Identify any geometry still being developed so it is not locked into a costly dedicated tool too early.
Account for Incoming Part Variation
A fixture receives real parts with tolerances, burrs, and manufacturing variation. Check whether components at the limits of their permitted dimensions can still be loaded and located without forcing them into place.
Review the condition of laser-cut components and any required deburring. If a locating surface is subsequently machined or formed, define which operation establishes its final condition. This makes it easier to trace a fit-up problem to the relevant manufacturing step.
Separate Locating From Clamping
Locators establish position; clamps hold the parts against those locations. Treating a clamp as the only reference can make position depend on how an operator loads the assembly.
Support the Part Without Forcing the Shape
Discuss where the assembly needs support and where clamping could bend a thin wall or pull a flange away from its natural condition. The aim is repeatable positioning, not the largest possible clamping force.
For formed metal parts, consider bend variation and springback during the locating review. A component that needs excessive force to seat deserves investigation before the fixture is used to hide the problem.
Specify an understandable loading sequence and provide a way to recognize an incorrectly oriented component. Consider whether clamps, stops, or locator pins could make a wrong load look correct. A fixture trial should include loading and unloading, not just a photograph of the assembled tooling.
Provide Access for Welding and Inspection
The fixture must leave room for the actual welding equipment and the inspection method. Access problems discovered after tooling is built can force a process change.
Review the Joint With the Production Equipment
Check the approach to each joint, the required angle, nearby obstructions, and any repositioning between welds. Include the relevant torch, electrode, or other process equipment in the access review. For automated welding, the equipment and fixture must be considered as one system.
Use clear welding symbols and notes to define the intended joints. A fixture designer should not have to decide the required weld length or location from an incomplete assembly sketch.
Also plan the work area around welding safety requirements, including the controls appropriate to the process. Accessibility must not depend on bypassing a guard, reaching into an unsafe area, or improvising a support during the build.
Leave a Practical Measurement Route
Identify which features will be checked in the fixture and which must be measured after release. A fixture stop can show that a component was loaded against a reference, but that alone does not establish the finished weldment’s conformity.
Coordinate the plan with quality control. If an inspection tool cannot reach a feature after welding, resolve the measurement approach before production. Where inspection requires a separate support or gauge, include it in the tooling scope.
Evaluate Distortion Through a Trial Build
Heat input, joint arrangement, restraint, and welding sequence can affect the finished shape. A rigid fixture does not make those effects disappear.
Check the Assembly After Unclamping
Build representative parts using the intended process and inspect them after the agreed cooling and release conditions. Record the welding sequence and clamping method so any adjustments can be evaluated consistently.
The American Welding Society’s chapter on residual stress and distortion addresses the underlying subject. For a specific product, the process team must evaluate restraint and sequence together rather than assuming more restraint always produces a better result.
If fit-up or geometry changes, identify whether the cause is the incoming components, locating scheme, weld sequence, or another variable. Changing several at once can make a successful trial difficult to reproduce.
Plan Tooling Maintenance and Change Control
A fixture is a production asset that can wear, accumulate contamination, or become outdated when the part changes. Its identity and condition need to remain clear.
Make the Repeatable Method Easy to Maintain
Provide practical access to clean the fixture and inspect locating surfaces. Consider replaceable wear items where appropriate, and define how a damaged locator or clamp will be recognized and corrected.
Record the fixture revision alongside the drawing and work instruction. ISO’s explanation of quality assurance emphasizes planned processes; for a welding fixture, that means an agreed method for approval, maintenance, and changes rather than relying on operator memory.
If the assembly proceeds to finishing, verify that rack-contact areas, cosmetic faces, and dimensional requirements are compatible with the weld and fixture plan. For fabrication and assembly programs, review how the weldment will fit purchased hardware and the next operation.
Before requesting dedicated tooling, include the drawing package, expected volume, critical interfaces, and intended inspection records in the quote request. A shared definition of the build gives the supplier a better basis for recommending an appropriate fixture strategy.
Frequently Asked Questions About Welding Fixtures
These questions cover practical decisions before building or approving a welding fixture.
What is the purpose of a welding fixture?
It locates and holds components so an agreed welding method can be repeated. It must also support loading, welding access, unloading, and the inspection plan.
Does a rigid fixture eliminate weld distortion?
No. The completed assembly must be evaluated after cooling and release, with heat input, restraint, joint arrangement, and sequence considered together.
Should a fixture locate from the drawing’s datums?
The locating scheme should be reviewed against the drawing’s functional requirements and datum references. Convenient unfinished edges may not establish the position needed by the final product.
When should dedicated welding tooling be approved?
After the design, incoming component requirements, welding route, and inspection approach are sufficiently defined. A trial build should demonstrate the intended loading and production sequence.
What changes require a fixture review?
Drawing revisions, component geometry changes, process changes, and damaged or worn tooling can require review. Keep the fixture identity and revision linked to the controlled build method.